Have you ever heard about Chromebooks? These are laptops from various manufacturers that share one common feature – they all run on Google’s ChromeOS. The main working tool on these cloud-first devices is the Chrome browser. If you ever wished for a no hassle operating system, and enjoying the user-friendly Google ecosystem that can support android apps, consider turning your existing hardware (old laptop) into into a Chromebook in a few steps. A streamlined version of Chrome operating system, called ChromeOS Flex is available entirely for free. Because of its performance, Chrome OS is a good choice for hardware even past its prime.
In this article you will learn how to breathe a new life into older devices that have long been under-performing. See what you can achieve by turning your old computer into a ChromeOS Flex device. Then let us guide you step by step and show you how to install ChromeOS Flex.
What is ChromeOS Flex?
ChromeOS Flex is a fast, user-friendly, and secure operating system that places the capabilities offered by the Google cloud at the forefront of its operations. It runs smoothly both on Intel and AMD processors. Importantly, ChromeOS Flex is completely free.
The main application used in the system is the web browser. Since the system revolves around cloud solutions, basic Google office web apps are also available here – Documents, Sheets, Presentations, Drive, and Gmail.
Login with Gmail
And speaking of Gmail… users log into Flex-based computers using their email address and password. This allows multiple people to use the same computer. Each user, upon logging into their account, gains access to all the files they store on the cloud drive.
What is different?
You might be wondering how Flex differs from its paid counterpart, the ChromeOS system. The primary difference is that Flex can be installed on any computer, regardless of what operating system they run on (so both PCs and Macs). Meanwhile Chrome OS is always tied to a device under an OEM license.
From a user perspective, the fundamental difference is that you can’t install apps available on the Google Play Store or those created specifically for Linux on Flex. The free version of the system also doesn’t support running Windows virtual machines (VMs) using Parallels Desktop software.
Read also:
Why should you use Chrome OS Flex?
Lightweight
ChromeOS Flex is incredibly lightweight, making it run smoothly even on older devices. The system can restore full functionality to devices with limited processing power that are even a decade old.
Security
A crucial aspect to note is security. When using ChromeOS Flex, you don’t need to install additional antivirus software. The system has built-in protections against viruses, ransomware, and phishing. All these elements are regularly updated in the background. Added to this are browser security features that warn users when they’re about to enter a potentially harmful website.

Ease of Use
Another major advantage of ChromeOS Flex is the simplicity of the system. Some might argue that Chromebooks have limited capabilities, and that’s certainly true. Especially when your wi-fi connection is unstable.
However, many users primarily need a internet and basic office tools for their computer work. And you can use these extensively on computers with ChromeOS Flex. The user-friendly interface will likely be appreciated by older users who aren’t highly experienced with technology.
Price, or rather, the lack of it
ChromeOS Flex is free. In other words, it’s the most affordable way to revive your old devices. The only investment you need to make is the time required to secure your data from the hard drive and install the new system.
Testing the System
If the above arguments don’t convince you, you don’t have to take our word for it. The good news is that you can test ChromeOS Flex first without removing the existing system from your computer. Just choose the appropriate option during installation, and you can assess whether the capabilities offered by ChromeOS Flex are sufficient for your needs.
How to Install Chrome Flex on an Old Computer?
Regardless of whether you have a Windows PC, a Mac, or a computer running on Linux, the procedure to install ChromeOS Flex is the same in all cases. You’ll need an installation medium (which is easy to create), a computer, and an internet connection.
Before you begin, make sure to secure all important files on your computer. The installer for the new system will delete them during its process. So, if you don’t back up your documents, you’ll lose them permanently.
Installing ChromeOS Flex – Step by Step
To smoothly install the system, prepare a USB drive or an SD card with a capacity of at least 8 GB. We recommend using a USB 3.0 drive, as it will significantly speed up the installation process. Remember that all files stored on the external drive will also be lost, so make sure to back them up.
The installation procedure itself is straightforward and shouldn’t take more than a few minutes.
Minimum Hardware Requirements
For ChromeOS Flex to run correctly, your device needs to meet the following minimum requirements:
- Processor: Intel or AMD x86-64-bit
- RAM: 4 GB
- Disk space: 16 GB
- Ability to connect a USB drive
- Full administrative access to the BIOS
- Graphics: Using components created before 2010 might result in an unsatisfactory experience. Graphics cards Intel GMA 500, 600, 3600, and 3650 don’t meet the requirements for smooth operation of Chrome OS Flex.
If you’re unsure whether ChromeOS Flex will work on your hardware, it’s best to review Google’s continuously expanding list of computer models that will support stable and smooth operations of ChromeOS Flex. Importantly, you can also install Chrome OS Flex on a computer not included on the list, but in such cases, issues might arise.
1. Download the Chrome Browser
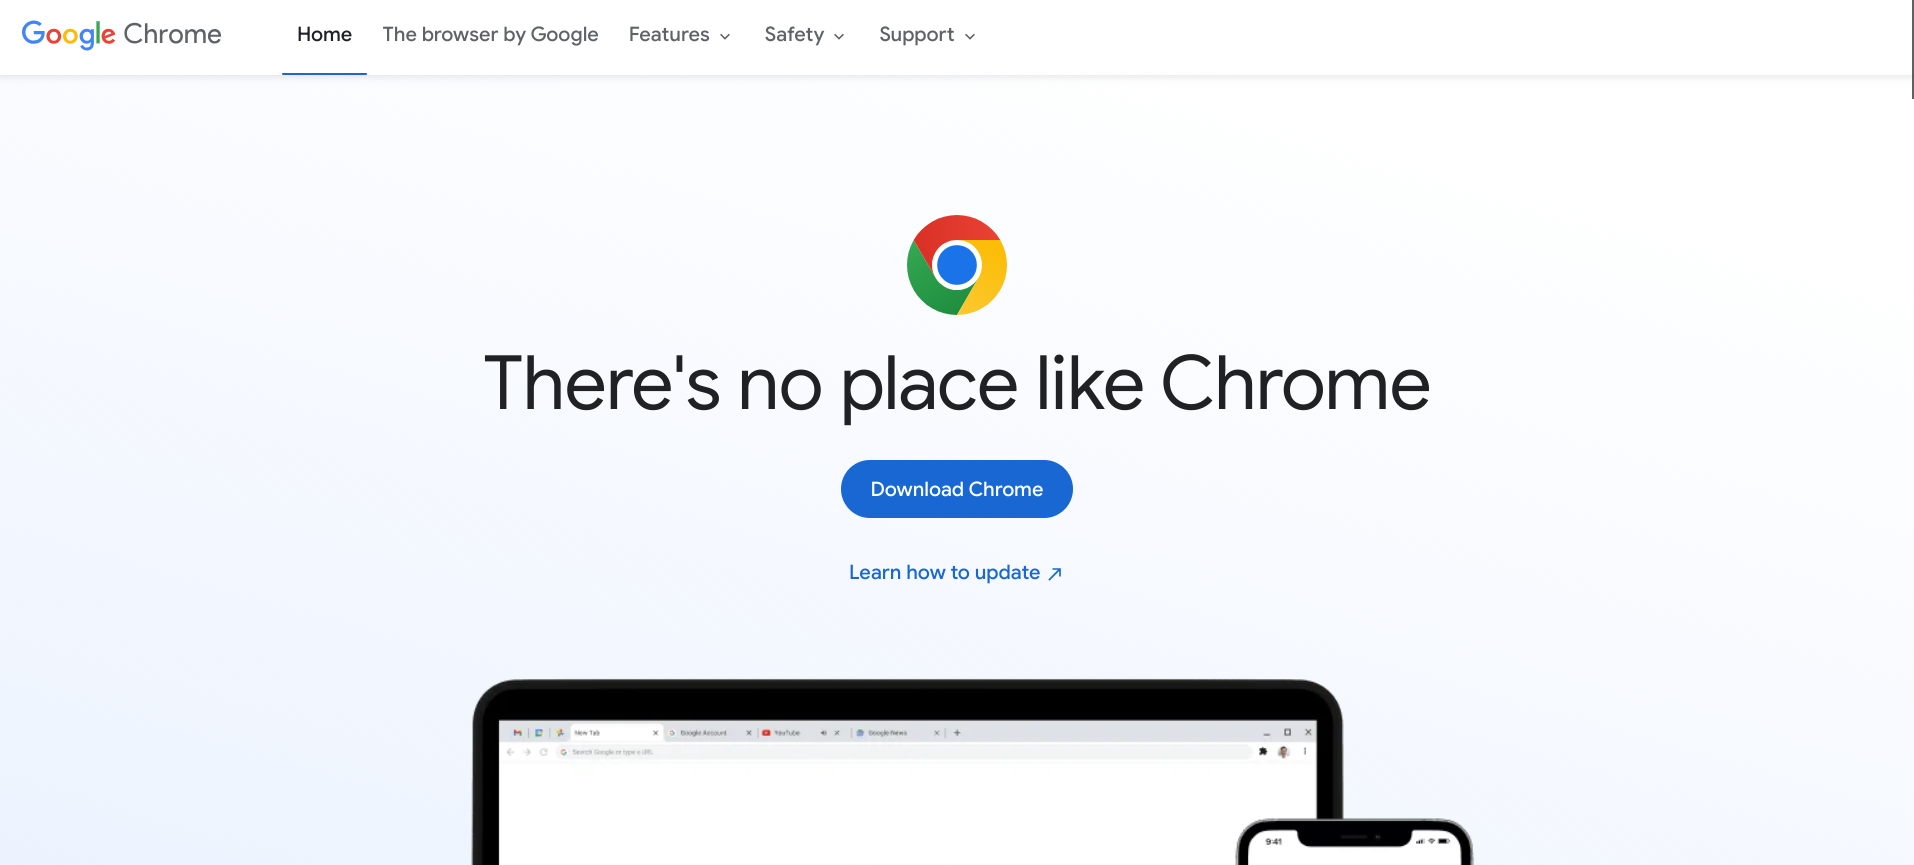
Once you’re sure that your hardware meets the requirements for changing the system, download the Chrome browser. If it’s already installed on your computer, you can skip this step. Otherwise:
- Open the browser you use.
- Visit the Chrome install page.
- Click the Download Chrome button and follow the instructions.
2. Install the Chromebook Recovery Utility extension
Now it’s time to install the extension necessary for creating the installation drive. To do this:
- Open Google Chrome.
- Click the three vertically arranged dots in the upper-right corner.
- Hover over More Tools and then click Extensions.
- Open the context menu by clicking the three horizontal lines in the upper-left corner.
- Click Open Chrome Web Store (at the bottom of the screen).
- In the store, search for Chromebook Recovery Utility.
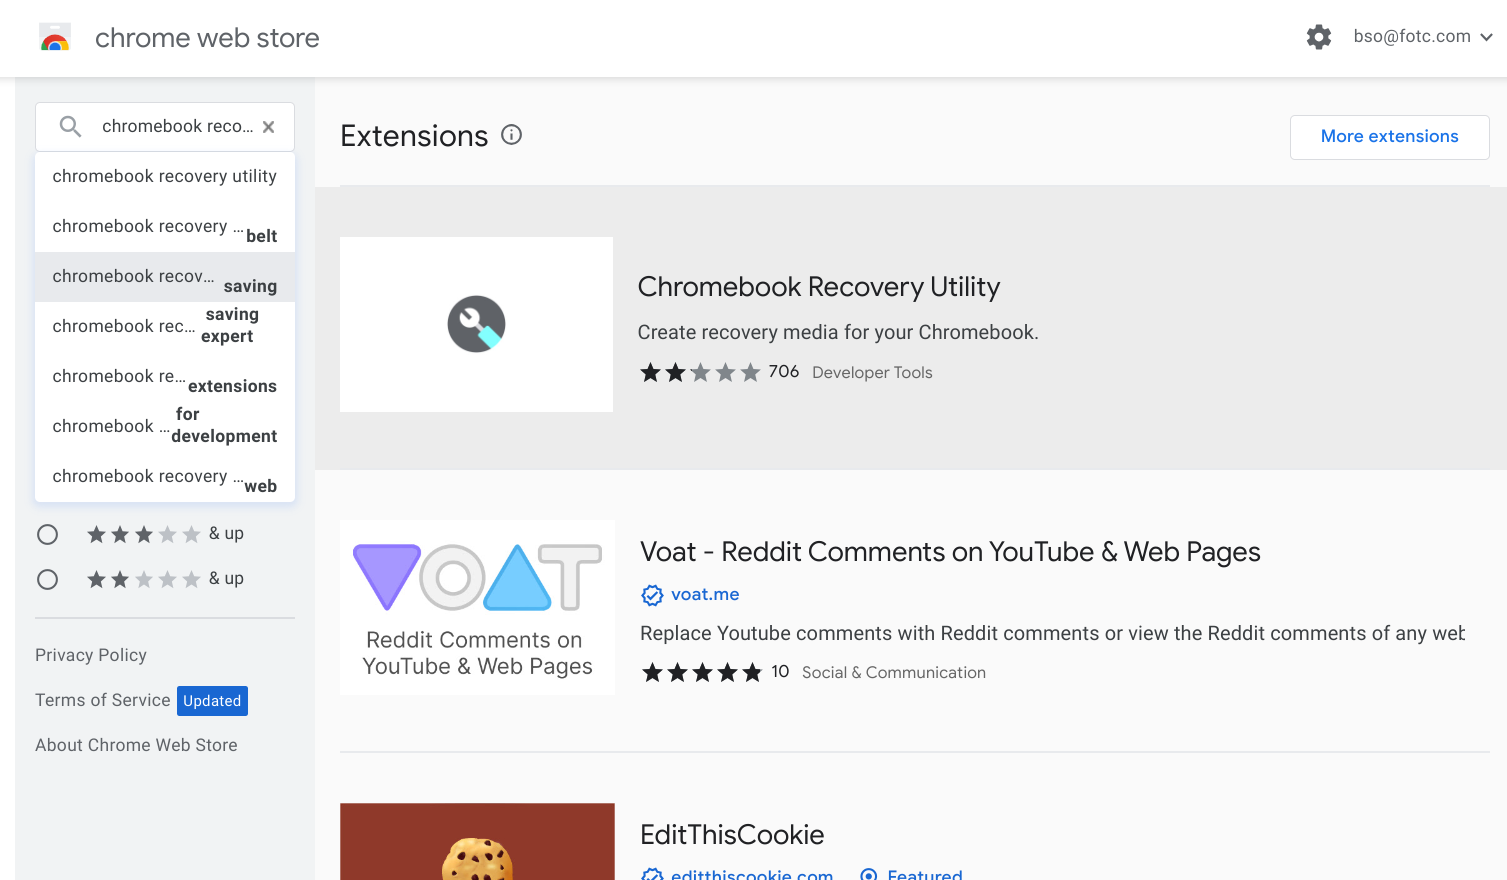
- Click the name of the extension in the search results.
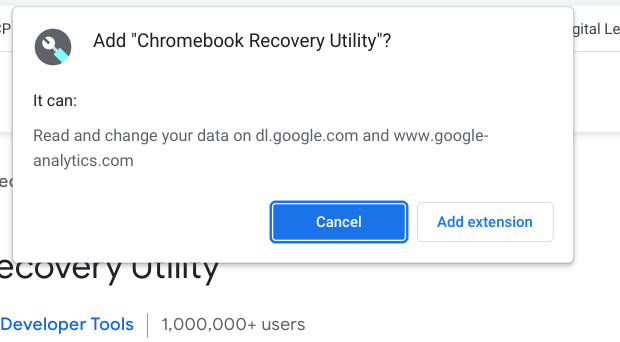
- Click the Add to Chrome button.
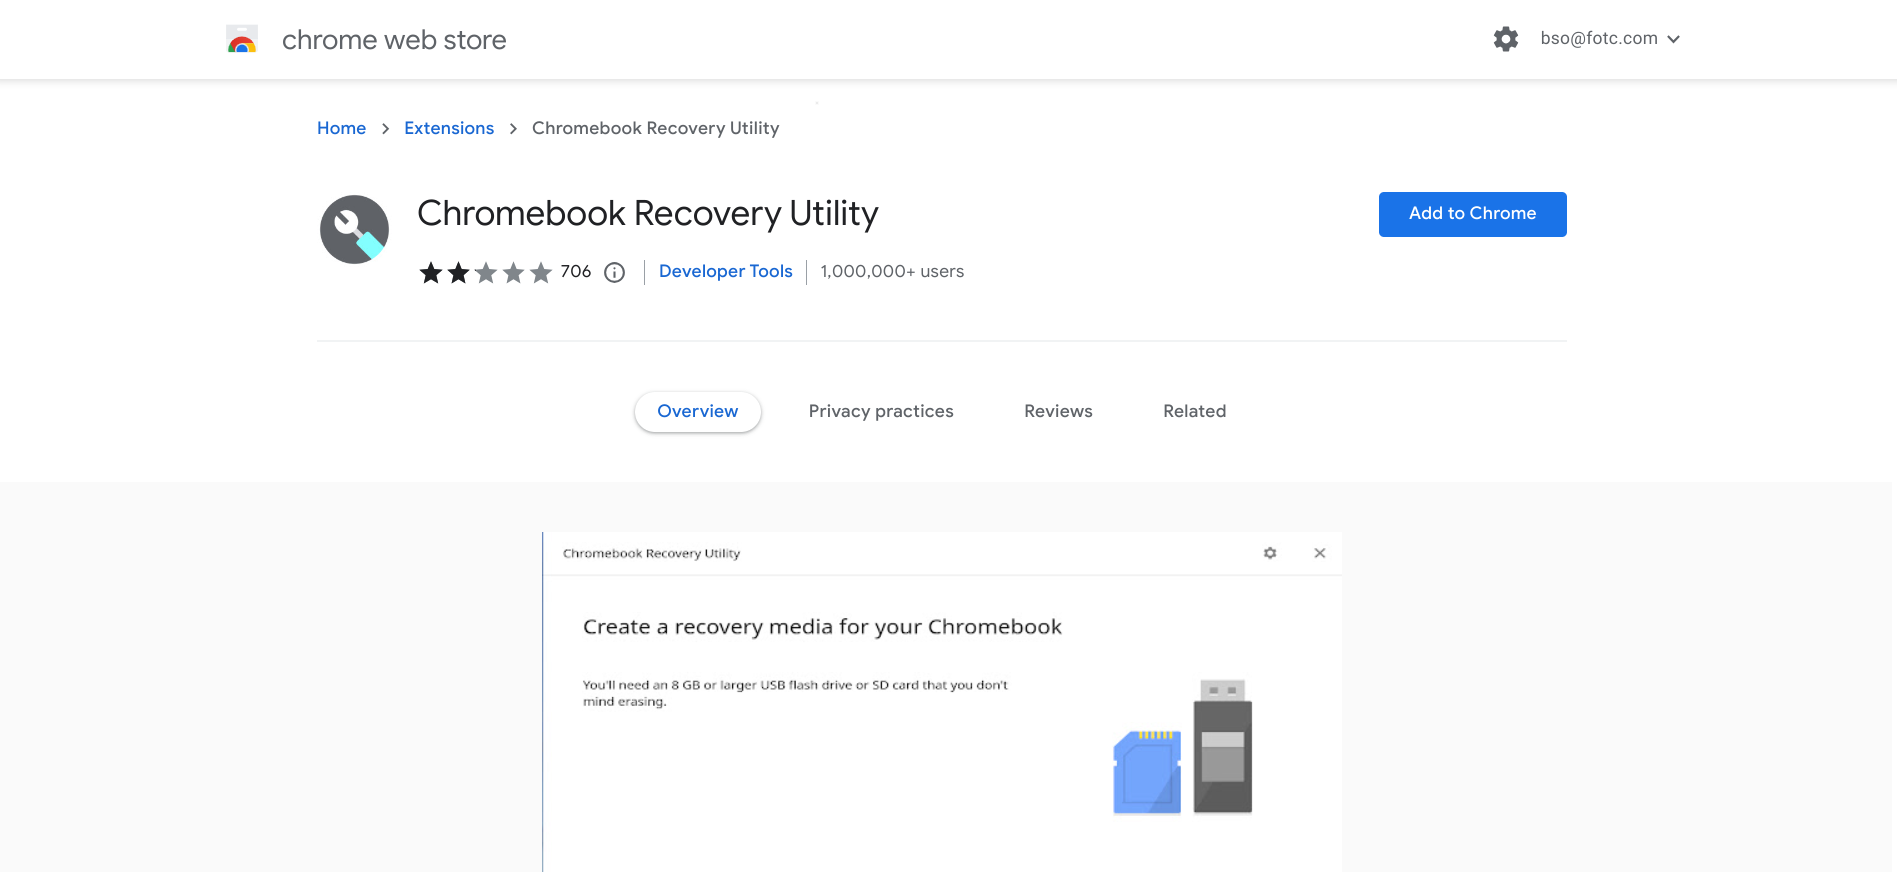
- In the popup window, click Add Extension.
- The extension will install automatically, and its icon will appear in the upper-right corner of the browser.
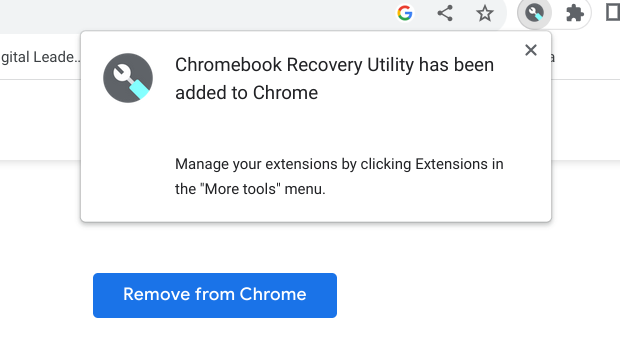
To create the Chrome OS Flex installation drive, download the Chromebook Recovery Utility app from the Chrome Web Store.
3. Create the installation drive (recovery medium)
Connect the USB drive or SD card to your computer. The device you choose will serve as the installation drive, also called recovery medium. Once the device is connected:
- Open the Chromebook Recovery Utility extension by clicking its icon in the upper-right corner of the browser.
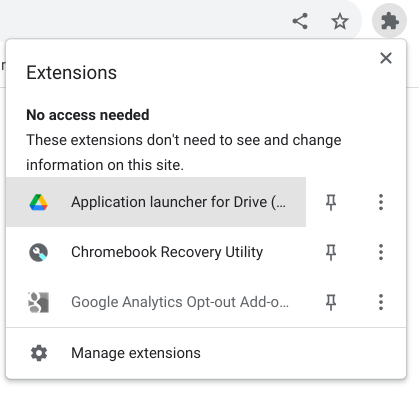
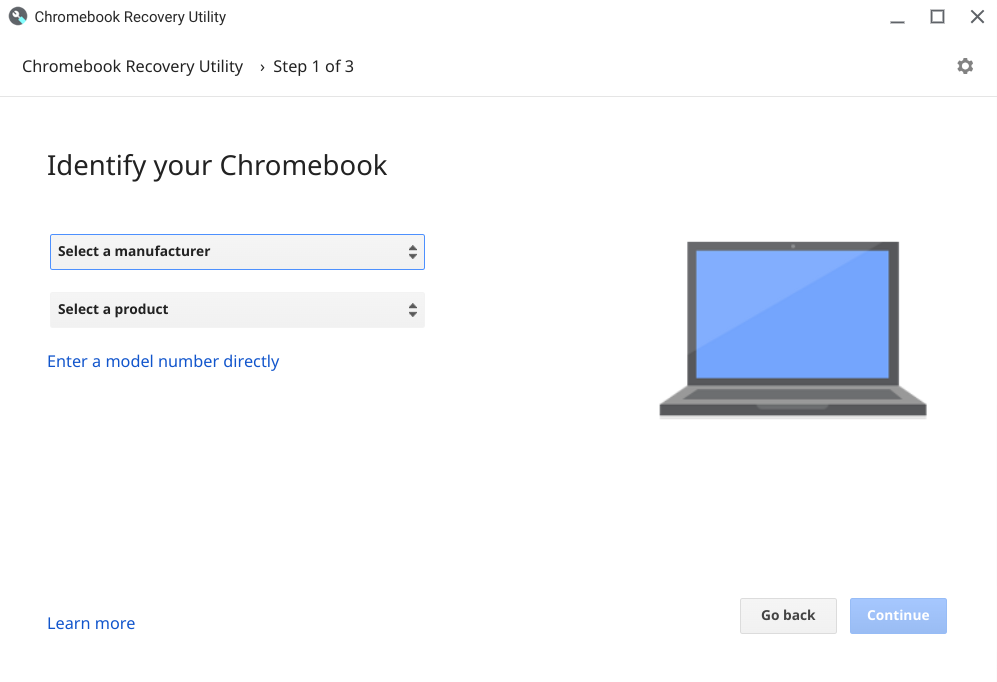
- In the window that appears on the screen, click the Get started button.
- In the next window, click Choose a model from the list.
- Then, select Google Chrome OS Flex from the Select a manufacturer drop down menu.
- Choose Chrome OS Flex (Developer-Unstable) from the Select a product drop down menu, and then click Continue.
- From the available list, choose the device which you want to use for creating the installation drive. Click Continue.
- This is the last moment where you can create backups of the files on the USB drive or SD card. If you start creating the installation drive, all saved information will be lost. If you’ve already created a backup, click the Create now button.
- Wait for the installer to finish its work, and then click Done.
Congratulations, you’ve just created the Chrome OS Flex installation medium (drive)! Remember that you can use it multiple times.
4. Access Boot Settings
Now it’s time to install Chrome OS Flex on the computer you’ve chosen. To do this:
- Turn off the computer on which you’ll install the new system.
- Connect the installation medium (USB drive or SD card) to your laptop.
- Start the computer and immediately press the key that opens the boot settings. This role will be fulfilled by a different key on various computers. Below is a list for the most popular manufacturers:
- Acer – F2
- Apple – Option
- Asus – Del
- Dell – F12
- HP – F9
- Intel – F2
- Lenovo – F12
- Toshiba – F2 or F12
If your computer isn’t on the list, you’ll need to find it on your own. Fortunately, it won’t be difficult – just type “boot key + your laptop’s manufacturer name” in your browser.
5. Start the Installation
- When the BIOS screen appears, click Boot device options.
- Choose the name of the installation medium (USB drive or SD card) from the available options.
- The installer will start working. After a moment, you’ll have the option to choose between a full installation of Chrome OS Flex (option: Install CloudReady 2.0) or trying out the system without losing your existing data (option: Try it first). Choose your preferred option.
- Now it’s time to be patient. The installer will start working, and it will do the rest for you. Just give it a moment.
Enjoy Your New Chromebook
And you’re done! From now on, you can enjoy your new Chromebook! When your computer starts up, you’ll find all the applications you need for internet use, learning, and office work.
If you need a system with enhanced functionality, including access to applications available in the Google Play Store, feel free to contact us. We’ll help you choose the Chromebook that best suits your current needs.
And if you’re still wondering whether this is the right device for you, check out our article where we thoroughly describe what a Chromebook is and whether it’s worth buying.

