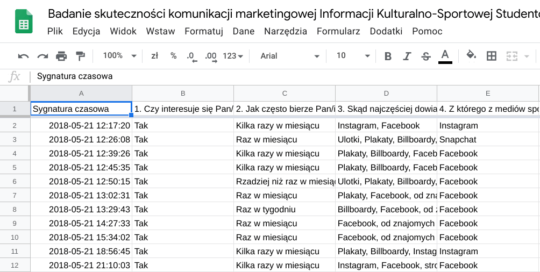
Google Forms is an application available in both Google Workspace and the free version of Gmail. It allows users to conduct surveys on any topic and sound out opinions of the public. In addition, it is useful to web developers or e-shop owners when they need to create contact forms for websites. Thanks to the ability to turn any form into a test, Google Forms is one of the favourite tools of teachers during remote or hybrid lessons.
A survey can be created solo, but the app also makes it easy to cooperate with many more people. Survey results are easy to interpret thanks to an automatic visualization of responses in charts and diagrams. Working with this versatile app has many advantages, and if you’re not using it yet, you’re missing out. Luckily, there’s never too late to start! Creating a form takes only a few minutes.
What is Google Forms?
Google Forms is an online tool that is part of the Google Workspace suite, which makes it accessible through Google Drive. It allows users to build forms with various form fields such as text, multiple-choice, checkboxes, and more. The collected data can be analyzed and organized with ease. Online surveys can be created, shared, and conducted through Google Forms. Additionally, users can create multiple versions of a form to track changes in responses over time. Raw data collected through Google Forms can be exported to various formats for further analysis.
How to create online forms with Google Forms?
Create a new Google form file
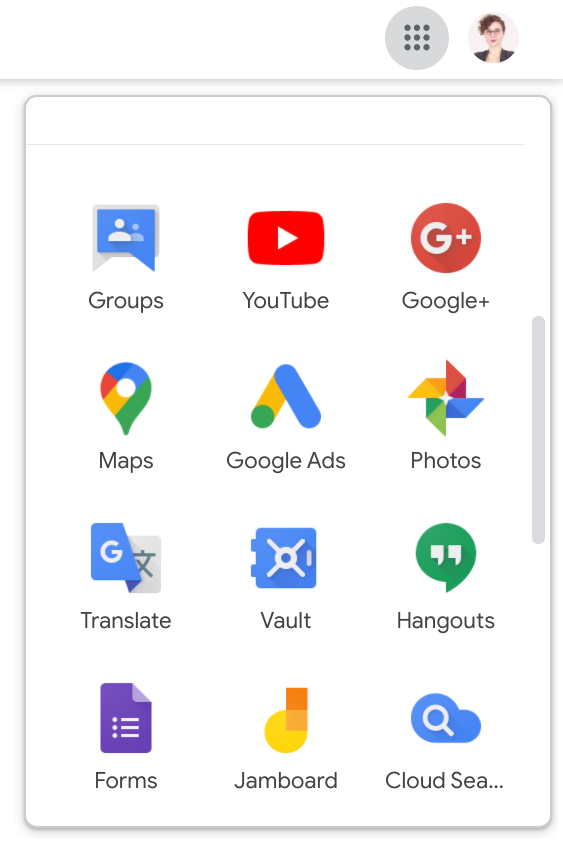
First, log in to your Gmail account and open the Forms application or go to https://docs.google.com/forms. If you’re in a hurry then the fastest way to dig into work is to type “form.new” in Chrome’s address bar. Try it!
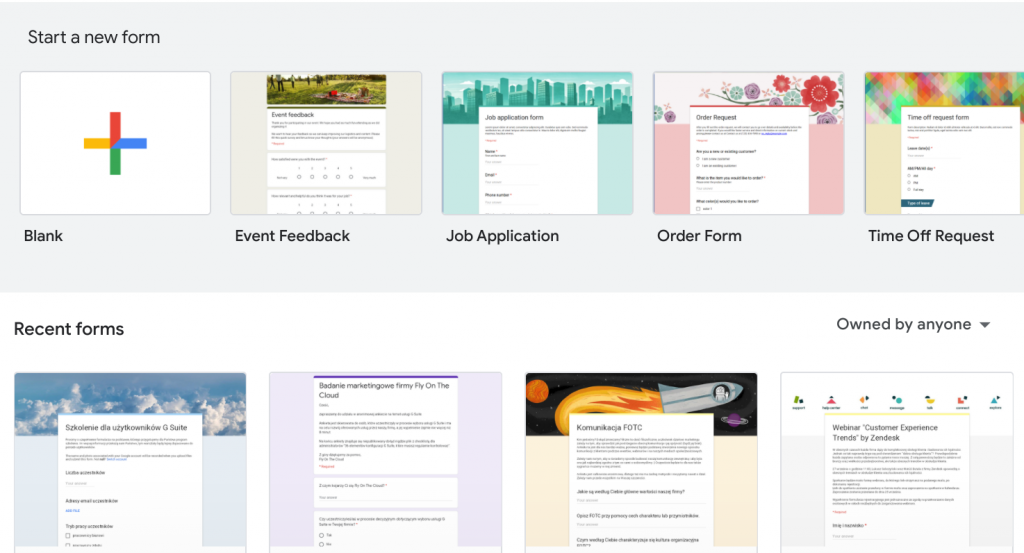
If you’re in the main view, click the + button in the upper left corner to create a new form, just like you would do with a new Google Docs.
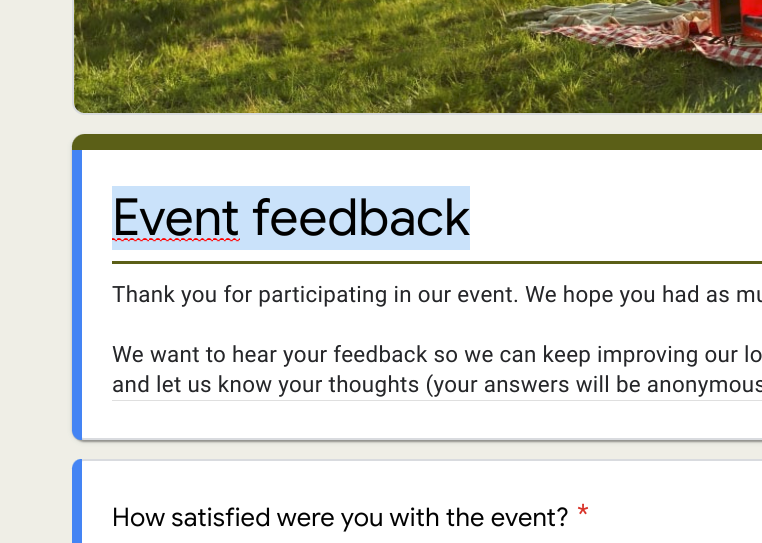
Enter the name and description of your form
Change the name of the form by typing it in the “Untitled form” field. Below is a description of the form in which you can show the purpose of the survey, inform when the results will be published, and what they will be used for.
Adjust the design of the form
You can modify the design of the survey to serve a broad audience by choosing a colour, theme photo and font style.
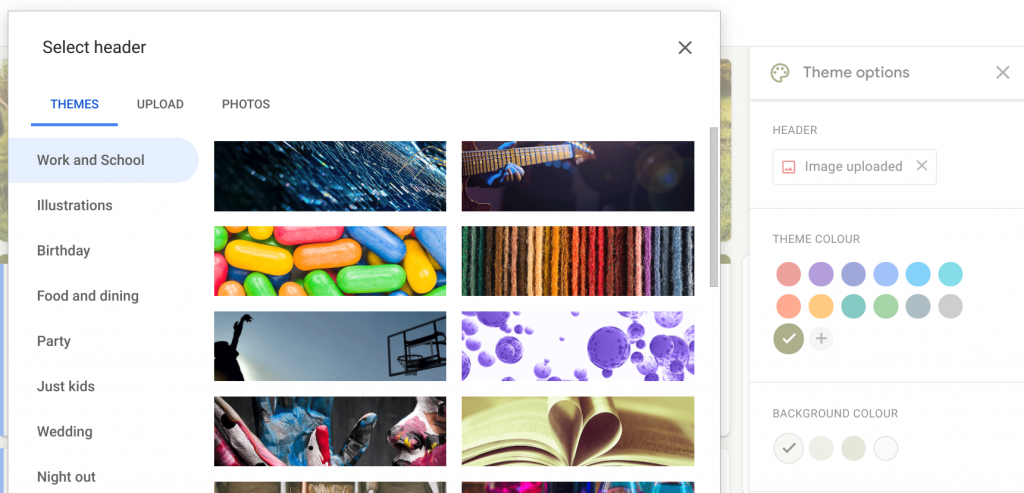
You can choose one of the predefined themes, properly formatted, or to upload your own images and pick a colour scheme.
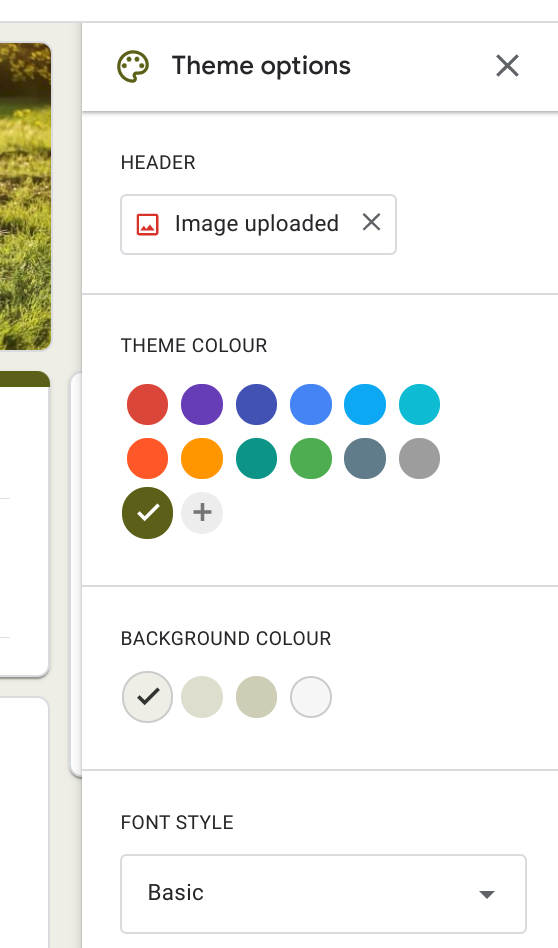
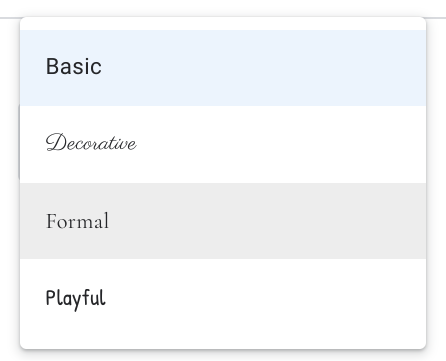
It is also possible to personalize the font, but we wouldn’t recommend that. The “Basic” font is readable on both on mobile and computer screens. In most cases, it’s better to prioritize clarity over styling.
See also:
Type in your first question.
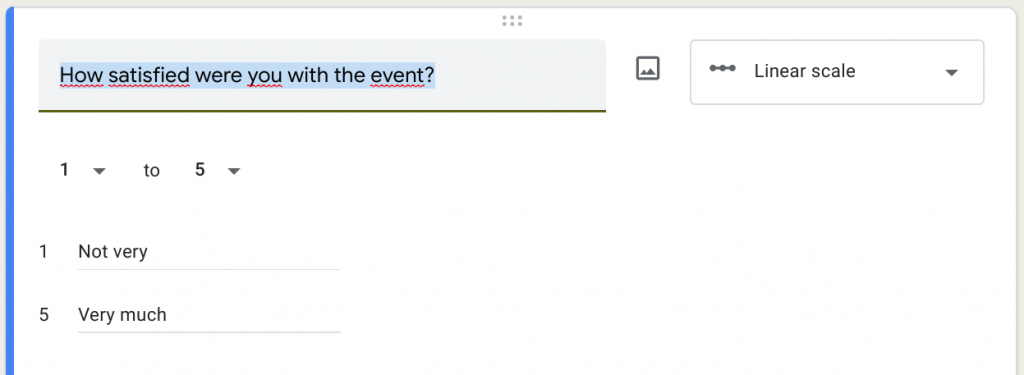
The survey will adapt the most appropriate answer format based on what you have written.
However, if you want the response format to be different from the suggested one, expand the list and choose the option that is more suitable. Type in multiple question types and reorder questions to access the best responses for your Google Forms.
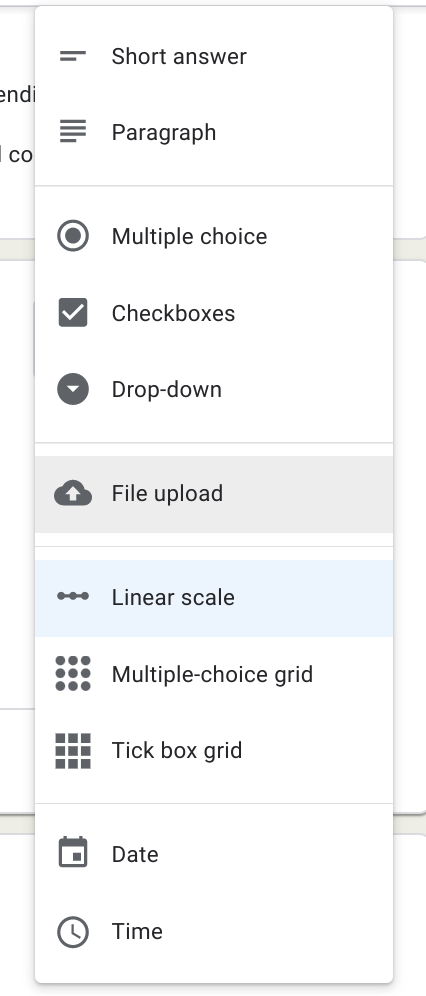
Available options include:
- short answer – allows users to enter a response containing several words;
- paragraph – gives the opportunity to type longer answers;
- multiple choice – users choose correct answers out of the provided options;
- checkboxes – participants can choose several options;
- dropdown – responders choose one of the options;
- file upload – users can submit a response file in the format you choose;
- linear scale – users can answer the question by marking the value on the scale;
- multiple choice grid – only one answer can be selected;
- checkbox grid – several answers are possible;
- date and/or time (it is possible to enter the time or time period)
If the answer to one question is very important and you want people to respond, mark it as required by switching this option on in the bottom right corner.

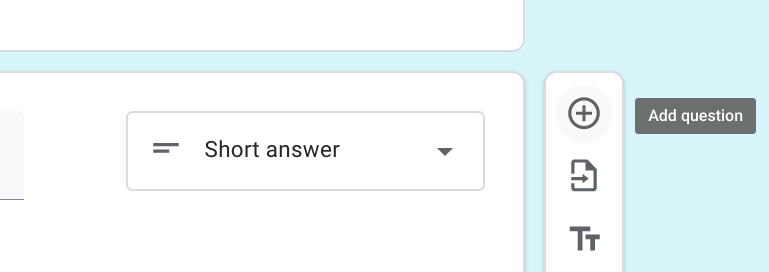
To add another question, click + on the right side of the form. You can also drag and drop questions or delete entire sections of the questionnaires.
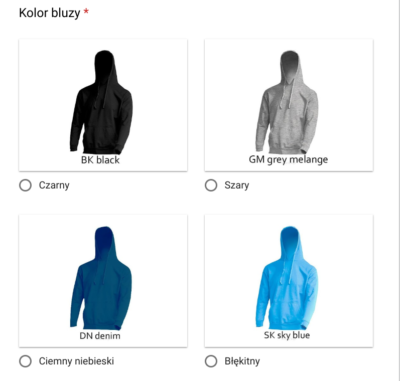
You can create a set of answers illustrated with photos or videos.
Adjust settings
Form settings allow you, among other things, to show the progress bar and shuffle the questions you have prepared. In addition, it is possible to assign each answer a point value to create a test or quiz and, for example, to publish grades.
It’s easy to set up basic conditional or custom logic and flow control for questions in Google Forms.
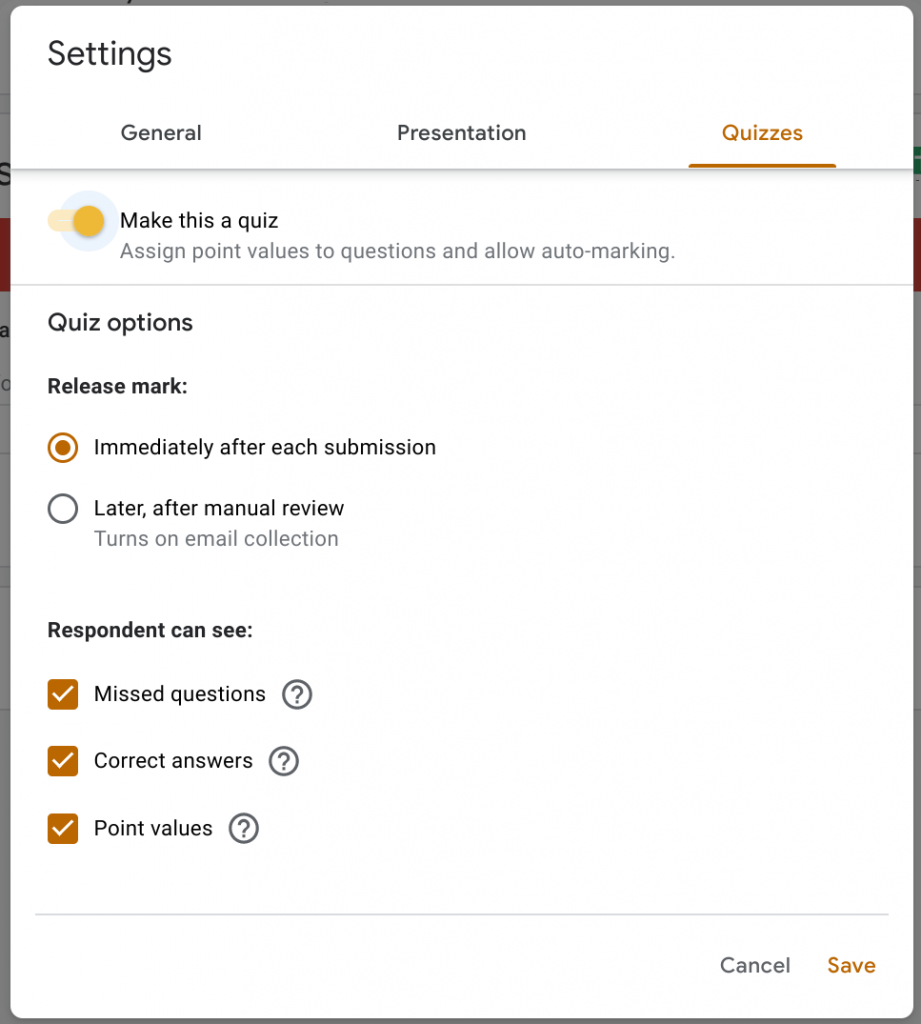
This section also allows us to
- collect email addresses – if you choose this option each of the respondents will be required to provide their email address;
- send response receipts – by selecting this section, each respondent will receive a copy of their answers by email as automatic summaries;
- restrict the survey to users in a company domain – if you use the business Gmail and Forms, you can make your survey available for employees of your company.
Add collaborators
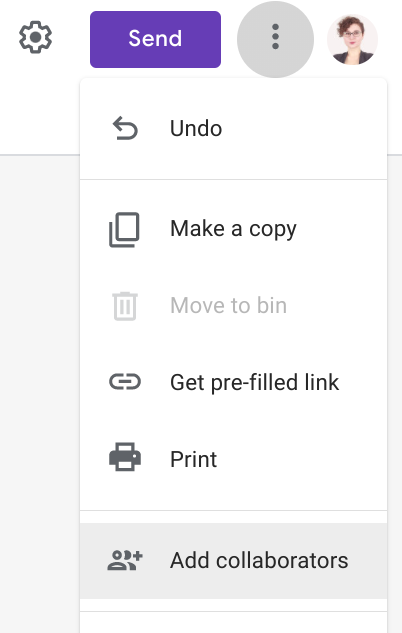
If you need to share forms with specific people, click the three dots in the upper right corner. Then select “Add collaborators”. You can decide what permissions each user will receive. You can edit, comment or view only.
Configure moving to sections based on answers
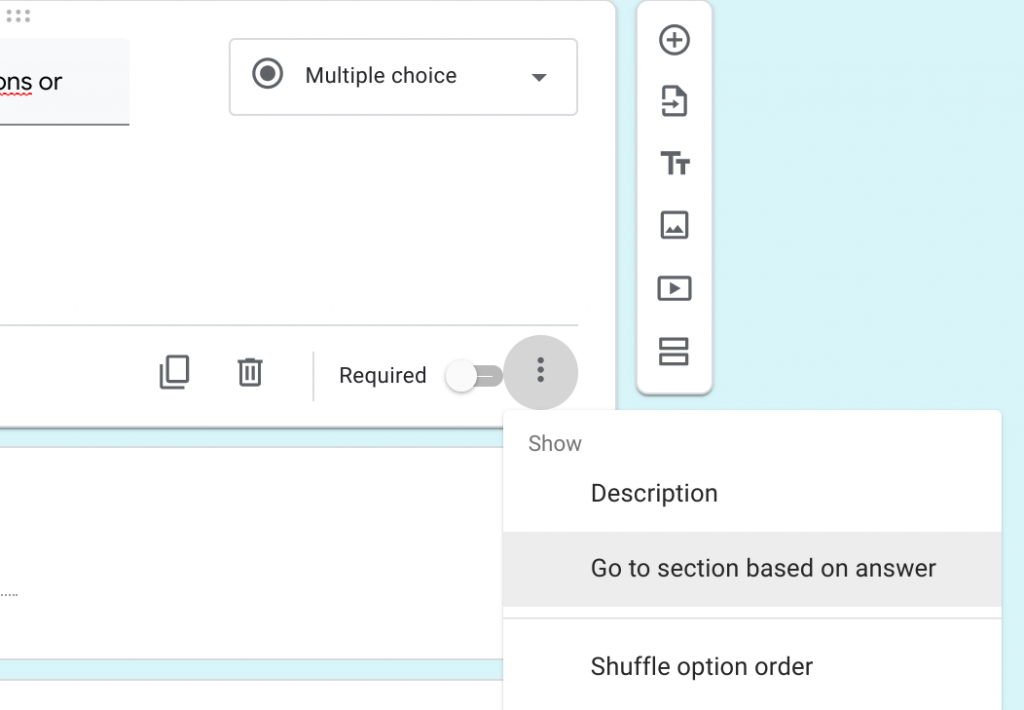
If you want to display different questions based on the previous answers, use the option “Go to section based on answer”. It will appear in the three-dots menu under a multiple choice question or a dropdown question.
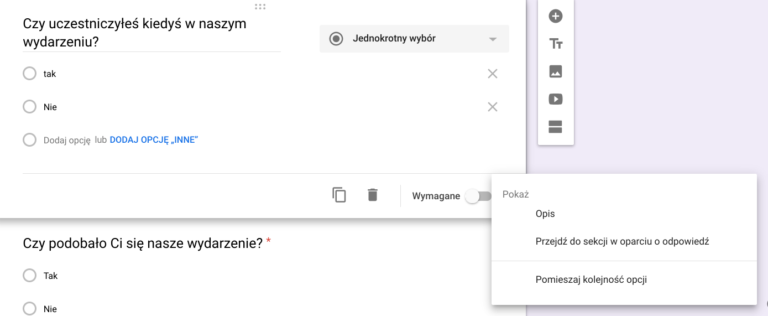
Then select the section to which the responder should be redirected after picking a certain answer.
Thank you message
You can add a thank you message for completing the survey. You can do it by going to settings and then selecting the “Presentations” section. The information that we want to provide is entered in the “Confirmation message” box.
People completing the survey will see it after submitting the form.
Publish the survey
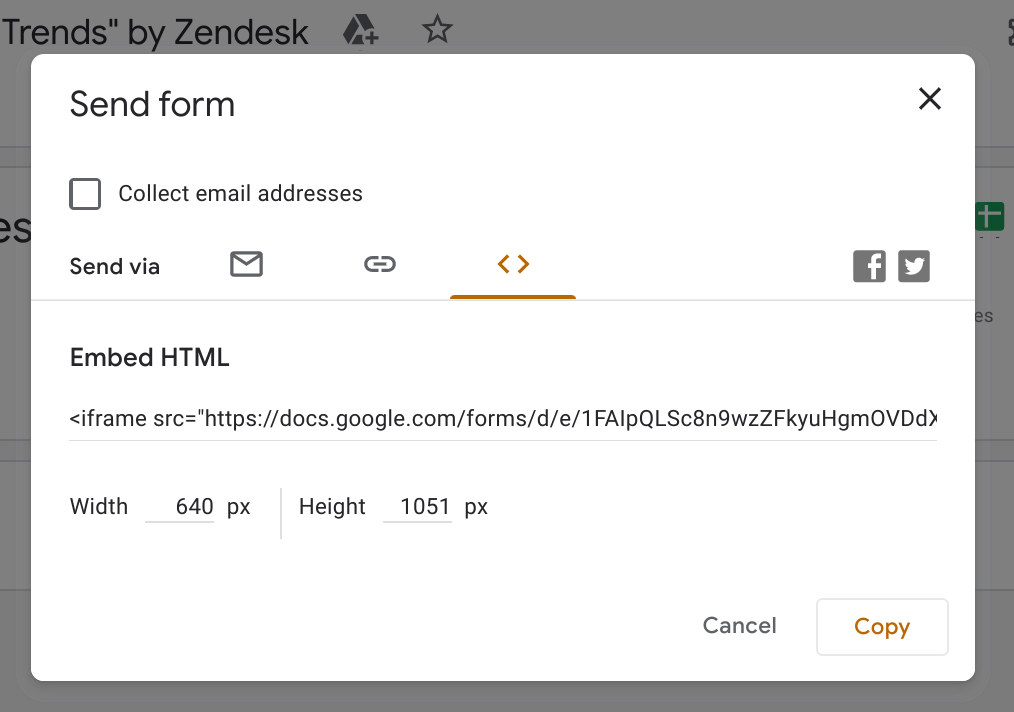
Click the “send” button. Invite selected people by adding their email addresses or generate the survey link to share with target audience. You can also copy the HTML code to place the form on a website.
Close the form and analyse responses
After obtaining the expected number of responses, close the form and leave a message that will appear after clicking the link.
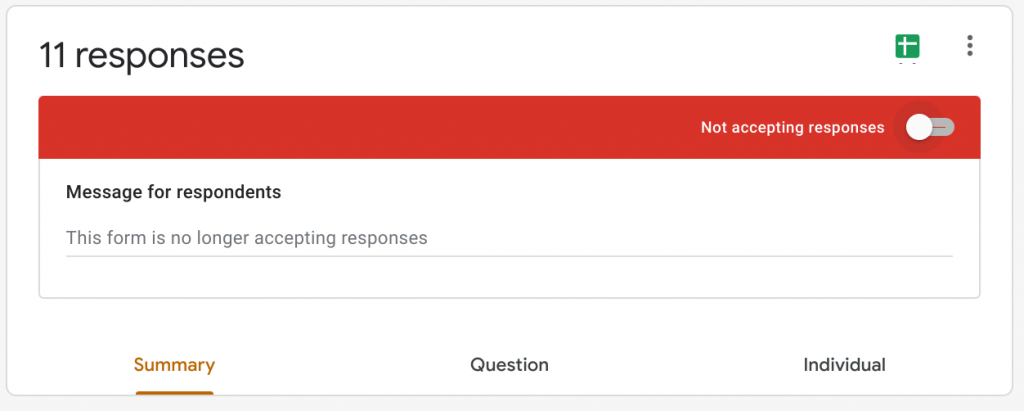
All answers are recorded in the “Responses” section. Depending on the saved settings, this data is available to the survey owner or also his or her co-workers. We can analyse the answers separately or as a graph summarizing the opinion of all respondents.

Export Google Forms content in Google Sheets
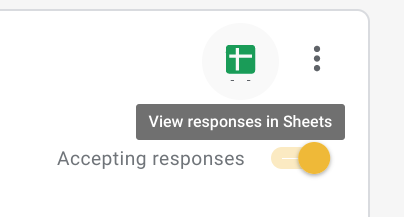
Integration between Google apps allows you to analyse responses from Forms in Google Sheets. To export the content, click the green button in the upper right corner of the “Answers” tab. Select the appropriate spreadsheet or create a new one.
After creating a new spreadsheet, the answers to the questions will be displayed in a predefined order.
